10 ways to start a successful bathroom renovation
When my husband and I got married, we lived in a small apartment on the South Side of Syracuse. It was the sweetest little space. The kitchen was a 4 x 4 foot box and there was a tiny balcony off of the front hallway. We made it great and loved its proximity to our jobs. But every day, I visited your average real estate website to see if there were any potential listings that we could purchase and call our own. You may have said I was addicted to the idea of owning our own place.
Fast forward to a year later when on a sunny, Sunday afternoon Ian drove me to the Strathmore neighborhood of the city. There was an open house and he wanted to walk through it. It was for sale by owner and as soon as we pulled up, I said, “No.”
From the outside, this was surely not the place I was dreaming of. But…we walked through and one thing lead to another and we moved in the following fall. Never judge a book by its cover!
Twelve years later and we are loving nearly every inch of what looked from the outside to be a terrible fit. We have brought our four babies home to this house and made much of it just what we want it to be. We love this neighborhood with its beautiful park and unique homes and we love the people.
When Covid hit, we had the opportunity to renovate the bathrooms. The house is a ranch with two full baths and they were horrible. Pink tile and worn out Terrazzo floor in one. Italian tile and worn out Terrazzo floor in the other. We were on a budget but hoped to make both spaces feel cohesive with the rest of the home and reflect much of the character of the places you see in the neighborhood.
We kept both bathrooms neutral but each with its own design. The primary bath is serene with a gray and white checkerboard floor and grey, to-the-ceiling Zellige tile in the shower. We went with Repose Gray for the walls that we newly trimmed with architectural molding to mimic the rest of the home. We also chose an oak shoe molding that both keeps the space unique and creates cohesion with the other trim throughout the house.
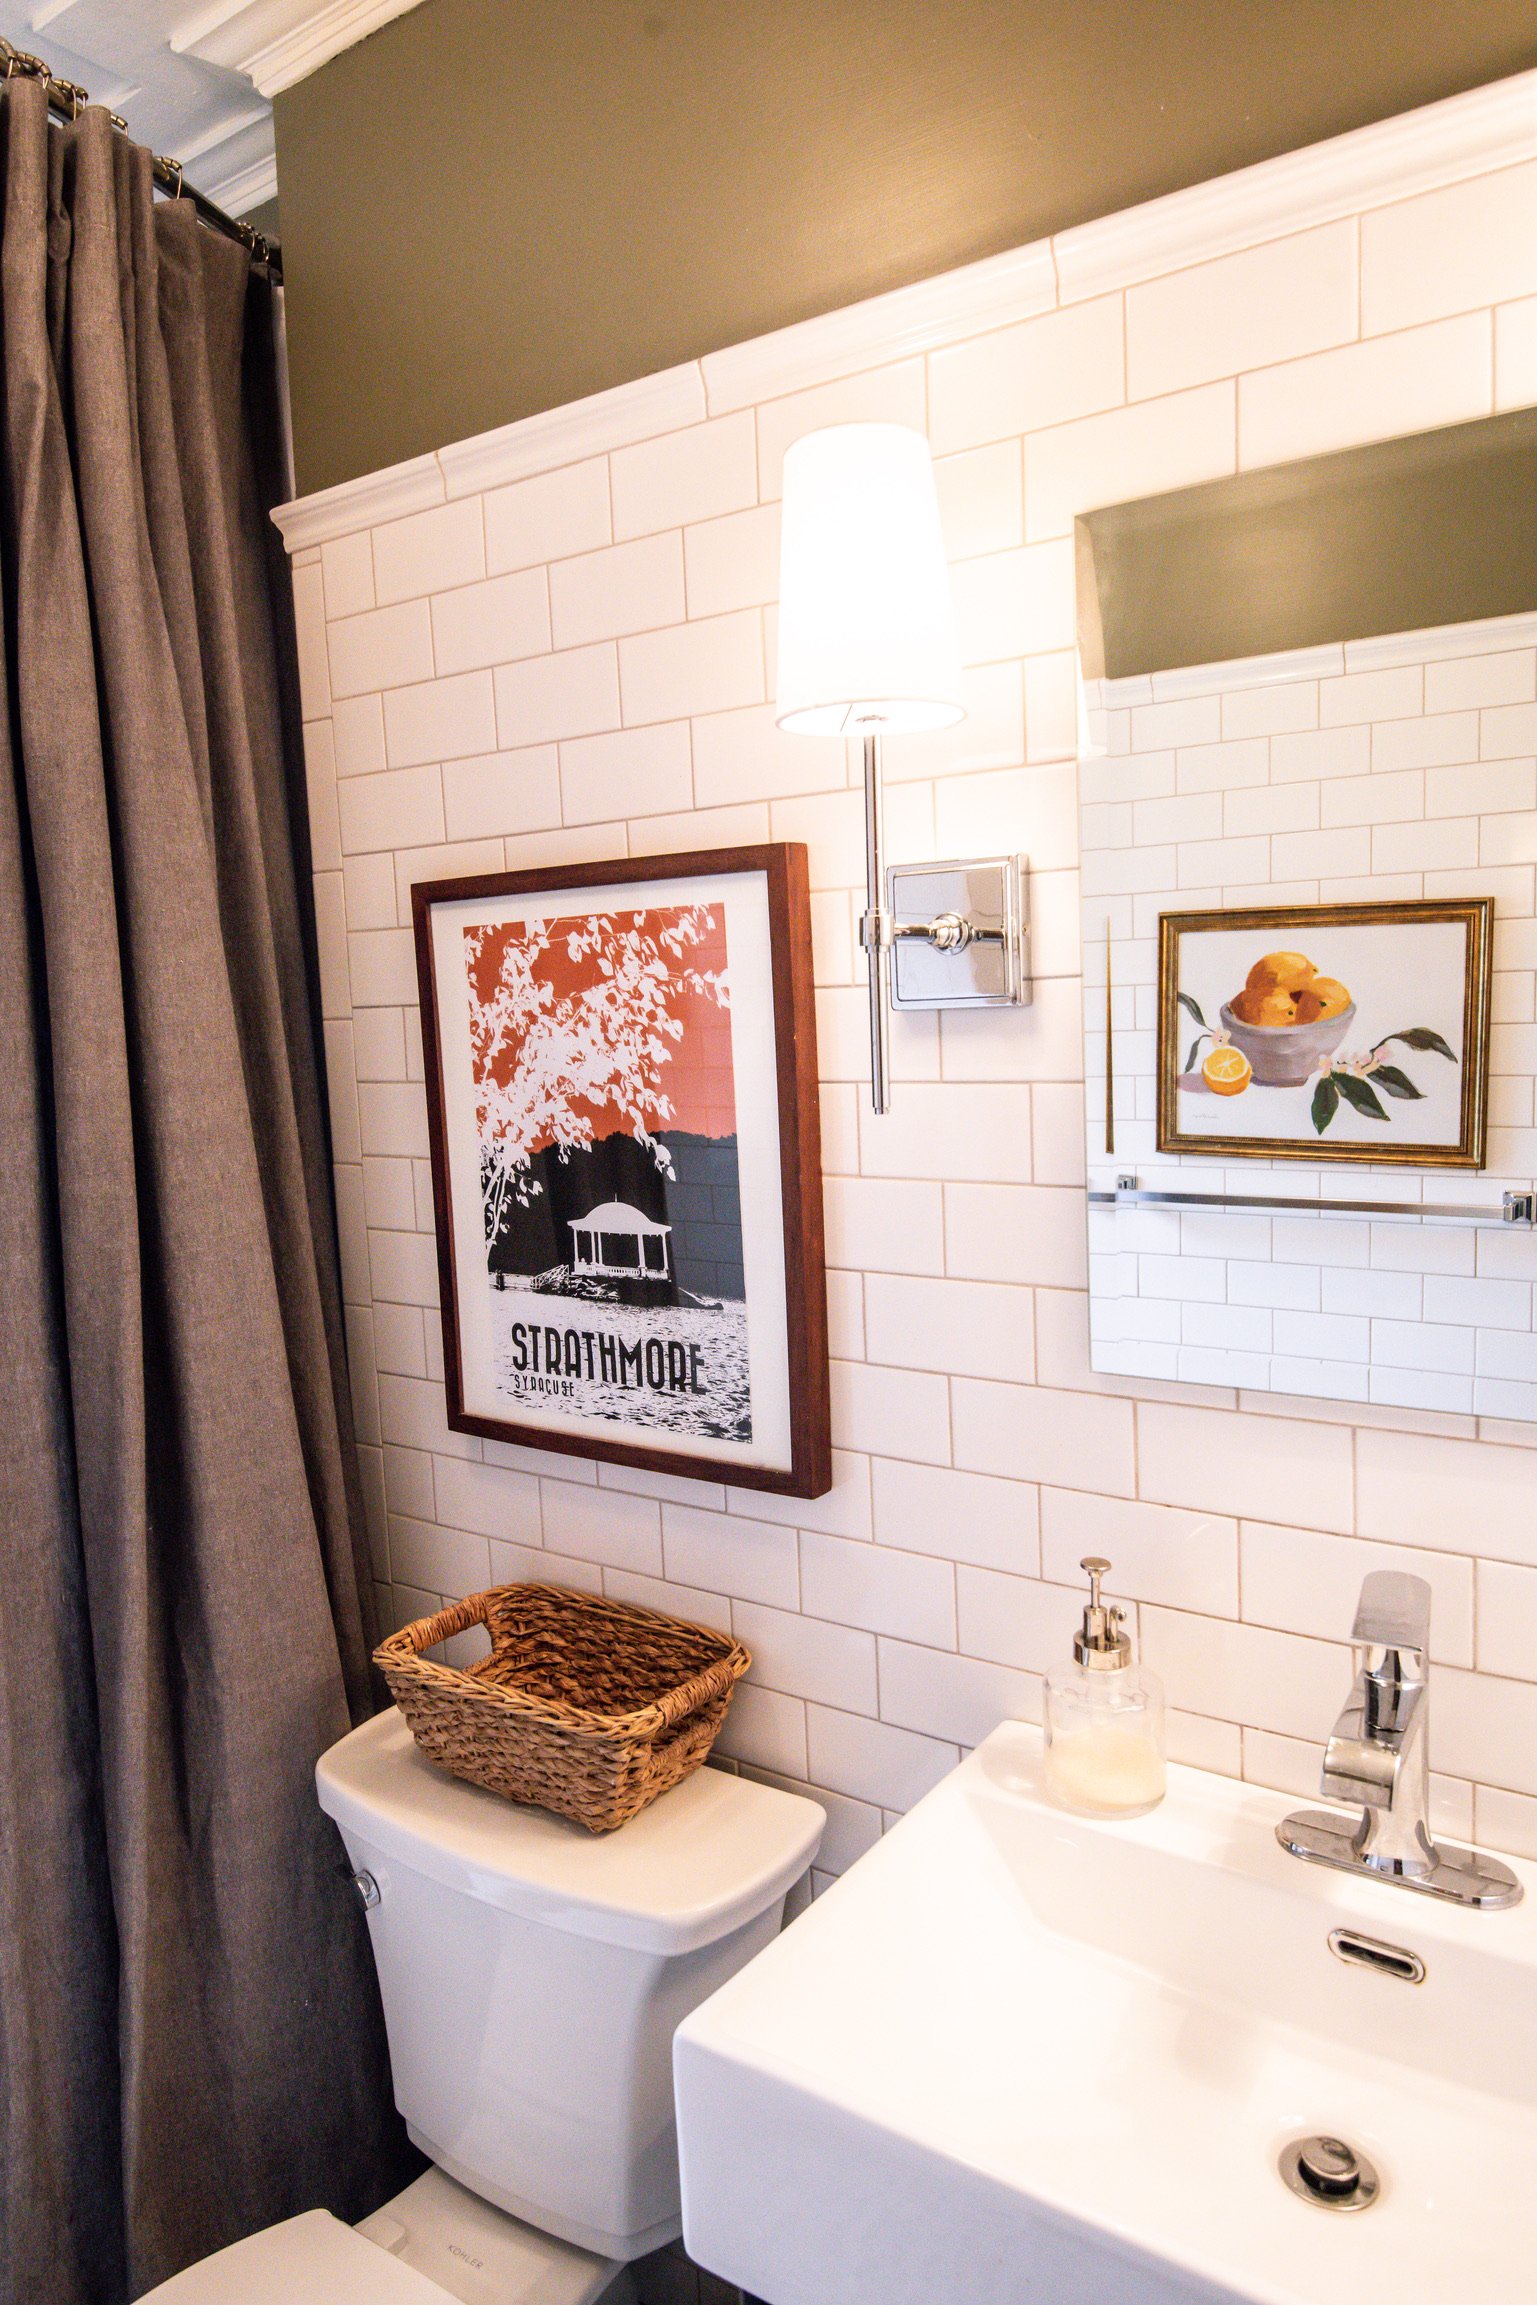
The pink bathroom got all new white subway tile and a marble basketweave floor. We kept it colorful as the kids are typically using this bathroom and we wanted to it be a great mix of classic elements with fun, personal touches. (I hope to wallpaper next!)
If you are considering doing a bathroom renovation, there is certainly a lot to think about! Proper planning prevents disaster but remember that decision fatigue is a real thing! With hundreds of choices out there and lots to factor in for your unique space, it can quickly become overwhelming. You can begin your process with the following suggestions.
10 Ways to Start a Successful Bathroom Renovation
1). Find your inspiration pictures! Look through sites like Pinterest and Houzz etc to find visual guides for just what YOU want. This will help you better articulate what you have in mind when working with a contractor/designer.
2.) Find an insured contractor who has an outline of decisions required for each space on paper. This will help you visualize what you need to think through and the steps to get there.
3.) Think through things like traffic flow, who will be using the space, how many people will be using it at the same time and for what, outlet placement, dimmable lighting, height of the shower head, storage needs, ventilation etc. Stand in the space for actual placement of plumbing and lighting fixtures whenever possible.
4.) Choose finishes that will stand the test of time. I personally love chrome and polished nickel.
5.) Hold on to your material samples until you are done with the renovation. Even if you think you chose all of your finishes at the beginning of the process, things can change and you might need to reference them. This includes swatches of the vanity choice, plumbing finish, flooring material, wall tile, hardware, paint and any window treatments and linens.
6.) Bring in personality with things that can be more easily changed. It’s never easy to paint or wallpaper but it’s easier than re-tiling and fun to change out! Don’t discount the impact of great art in a bathroom!
7.) Use layered lighting (damp rated) to create warmth. Overhead lighting is great when you need more illumination but sconces on either side of the mirror bring in layers that create dimension and mood with the flick of a switch!
8.) Always ensure that your installer seals your grout as part of their process. This prevents all of the icky traffic from tiring out the floor and walls long before it should.
9.) Have fun! What a gift to be able to renovate a space that is so important to everyday life!
10.) And lastly, of course I will suggest that you reach out and schedule an intake call with us! It can be an overwhelming process to oversee a renovation but I am here to help guide you through the process so that you have confidence in your investment and absolutely love the outcome.


